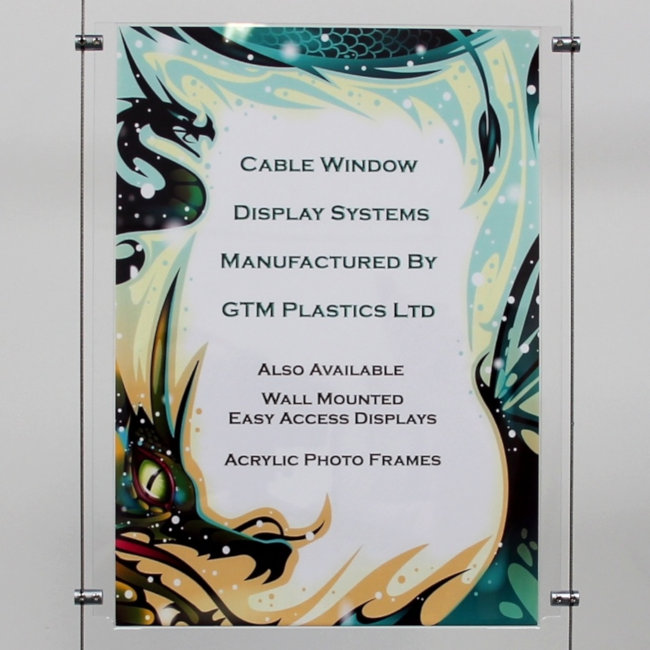
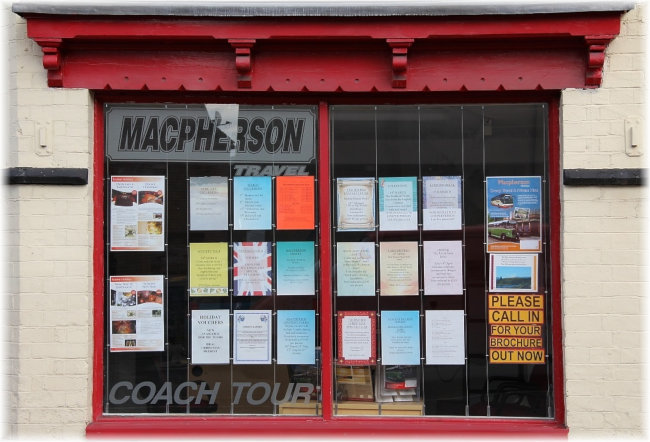
If you’re looking for hanging poster holders (AKA frames) then look no further. These displays are sometimes referred to as window poster holders or displays, and commonly used to display properties for sale in estate agent windows.
In fact there are so many different names used to describe this type of display it can be quite confusing – window display kits, hanging poster kits, it makes no difference, they’re just different names for the same product.
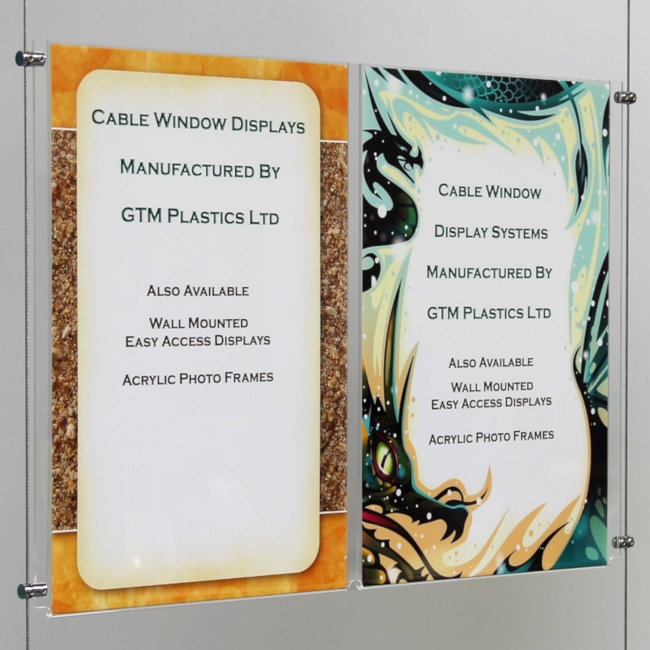
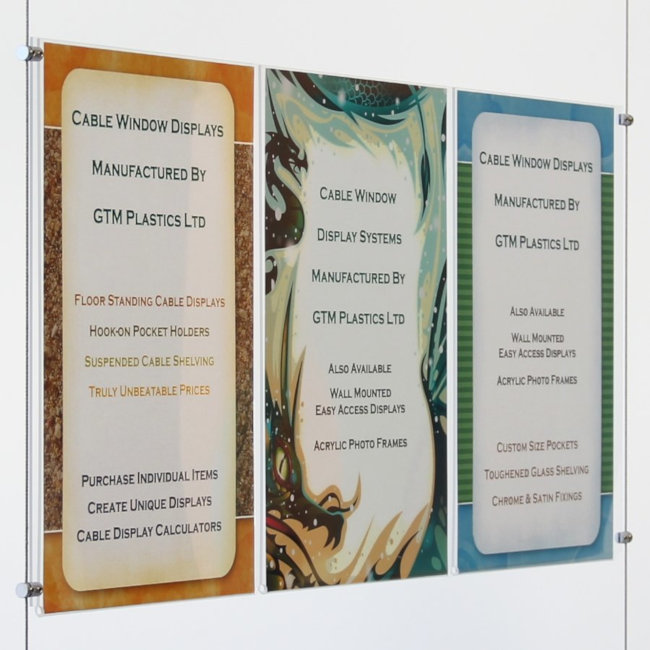
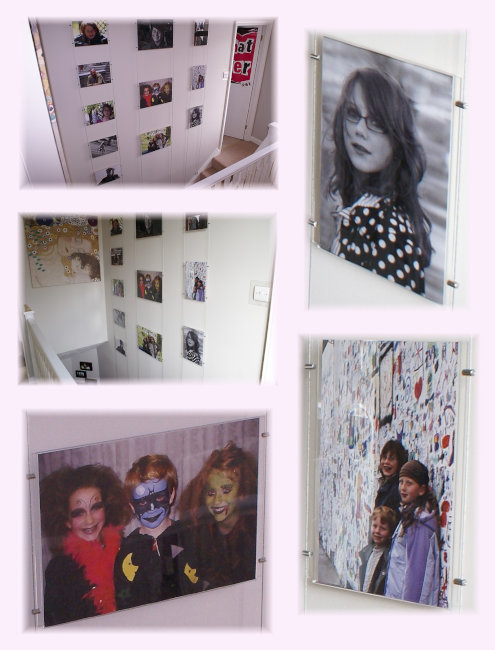
They're an assembly of acrylic poster sleeves, also known as easy access pockets, which are suspended in position between vertically hung cable. Each pocket is attached between the wires by using our chrome or satin mini clamps.
All components are included when purchasing a display kit from our pre-configured layouts, which arrive flat-packed when delivered. Separate parts are available which enable you to add to an existing display or produce a custom layout.
They're more commonly used as a window display, although they're designed and intended to be used equally well both as a window display or a wall mounted display. Many shops and businesses buy this type of display system to vastly improve the appearance of their shop window, which typically might have been using tape or Blu-tack to stick their advertisements to the window for many years.
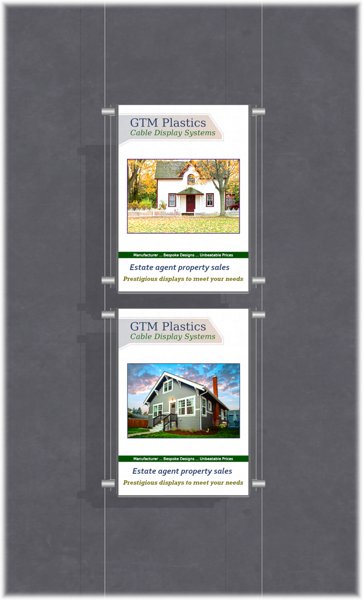
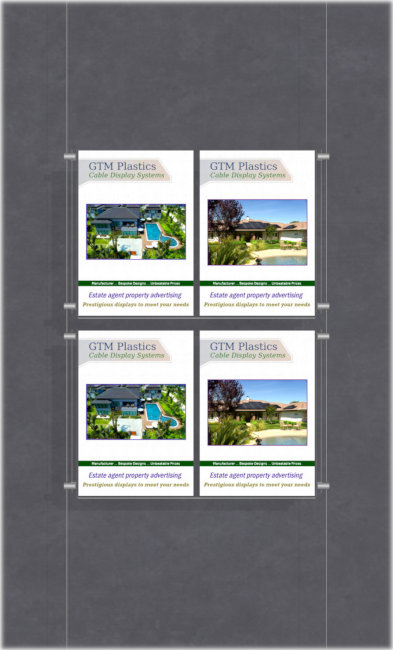
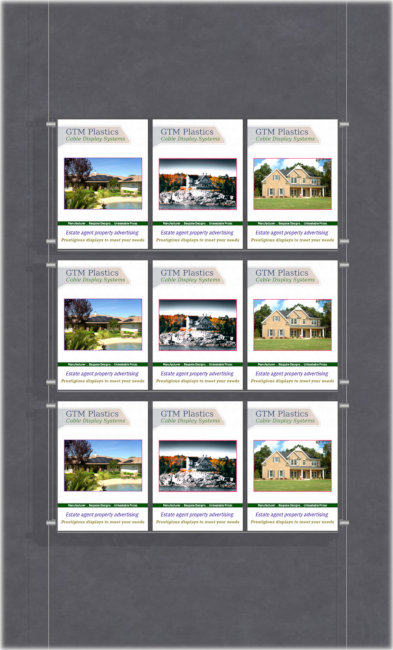
Estate agent window displays need to present numerous property cards in a uniform manner. Cable wire systems such as these allow you to arrange your posters in rows and columns. The height of each individual acrylic sleeve is initially set during the installation but can easily be adjusted at any time.
Click on any of the images below to see all the available layouts
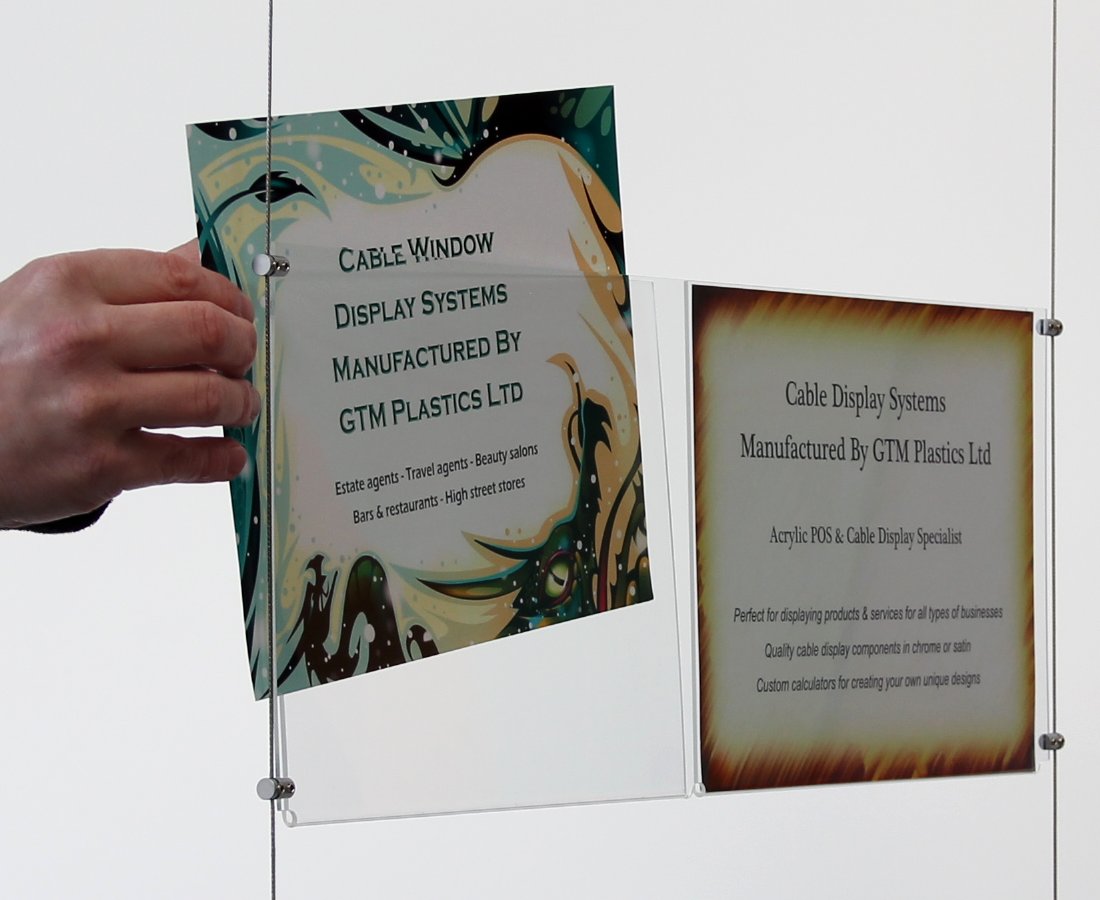
The paper can be changed very easily which takes only seconds, as illustrated using our A4 landscape double width pocket. (See photo above).
Simply flex apart the two acrylic faces and remove the poster by using one hand to pull back the rear acrylic face, whilst at the same time using the other hand to grab the poster and slide it out of the sleeve.
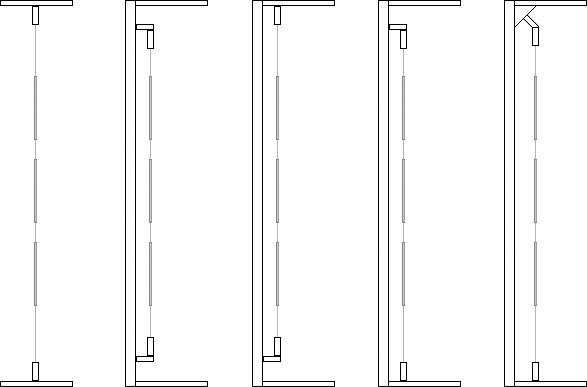
The cables themselves always hang vertically. However, the cable kit end fixings can either be mounted vertically orientated or at any angle from 0 degrees to approximately 135 (45 degrees past horizontal) degrees via our optional wall mounted fixings.


Question:
Can I fit them myself, and if so what tools do I need?
Answer:
Yes, you certainly can fit them yourself. It requires only a moderate DIY skill level, so you can think of it as being a typical handyman type of task.
You’ll need an electric drill, a pair of side/wire cutters, a Philips screwdriver, and a tape measure.
Question:
Can the “floor to ceiling” cables be fitted into a window recess top to bottom?
Answer:
Yes, and the cables being called “floor to ceiling” is simply a naming convention. What they really are is: “horizontal top surface to horizontal bottom surface”.
Question:
Will I receive enough cable length to hang the displays from my really high ceiling?
Answer:
The cable is supplied as cable-kits, and so you’ll receive the correct number of cable-kits for your display, and each cable-kit consists of 4 metres of cable and the top and bottom fixings.
Typically, 4 metres of cable is easily long enough, but just be aware that if the distance spanned from your floor to ceiling (or e.g. window recess top to bottom) is greater than 4 metres, you’ll need to let us know.
Question:
Can I adjust the position of the display after I’ve installed it?
Answer:
You can easily adjust the height of each acrylic pocket/sleeve, simply by loosening the small grub-screws in the mini clamps that secure the given pocket to the cables, and then sliding it up/down as desired.
However, you won’t be able to adjust the horizontal positioning of the overall display unless you purchase the optional horizontal channel tracking…
But as long as you think carefully about the display’s position (left/right) before you mark out and drill the fixing holes, the channel tracking isn’t required (unless you’re going to move it left/right from time to time for whatever reason).